- Get link
- X
- Other Apps
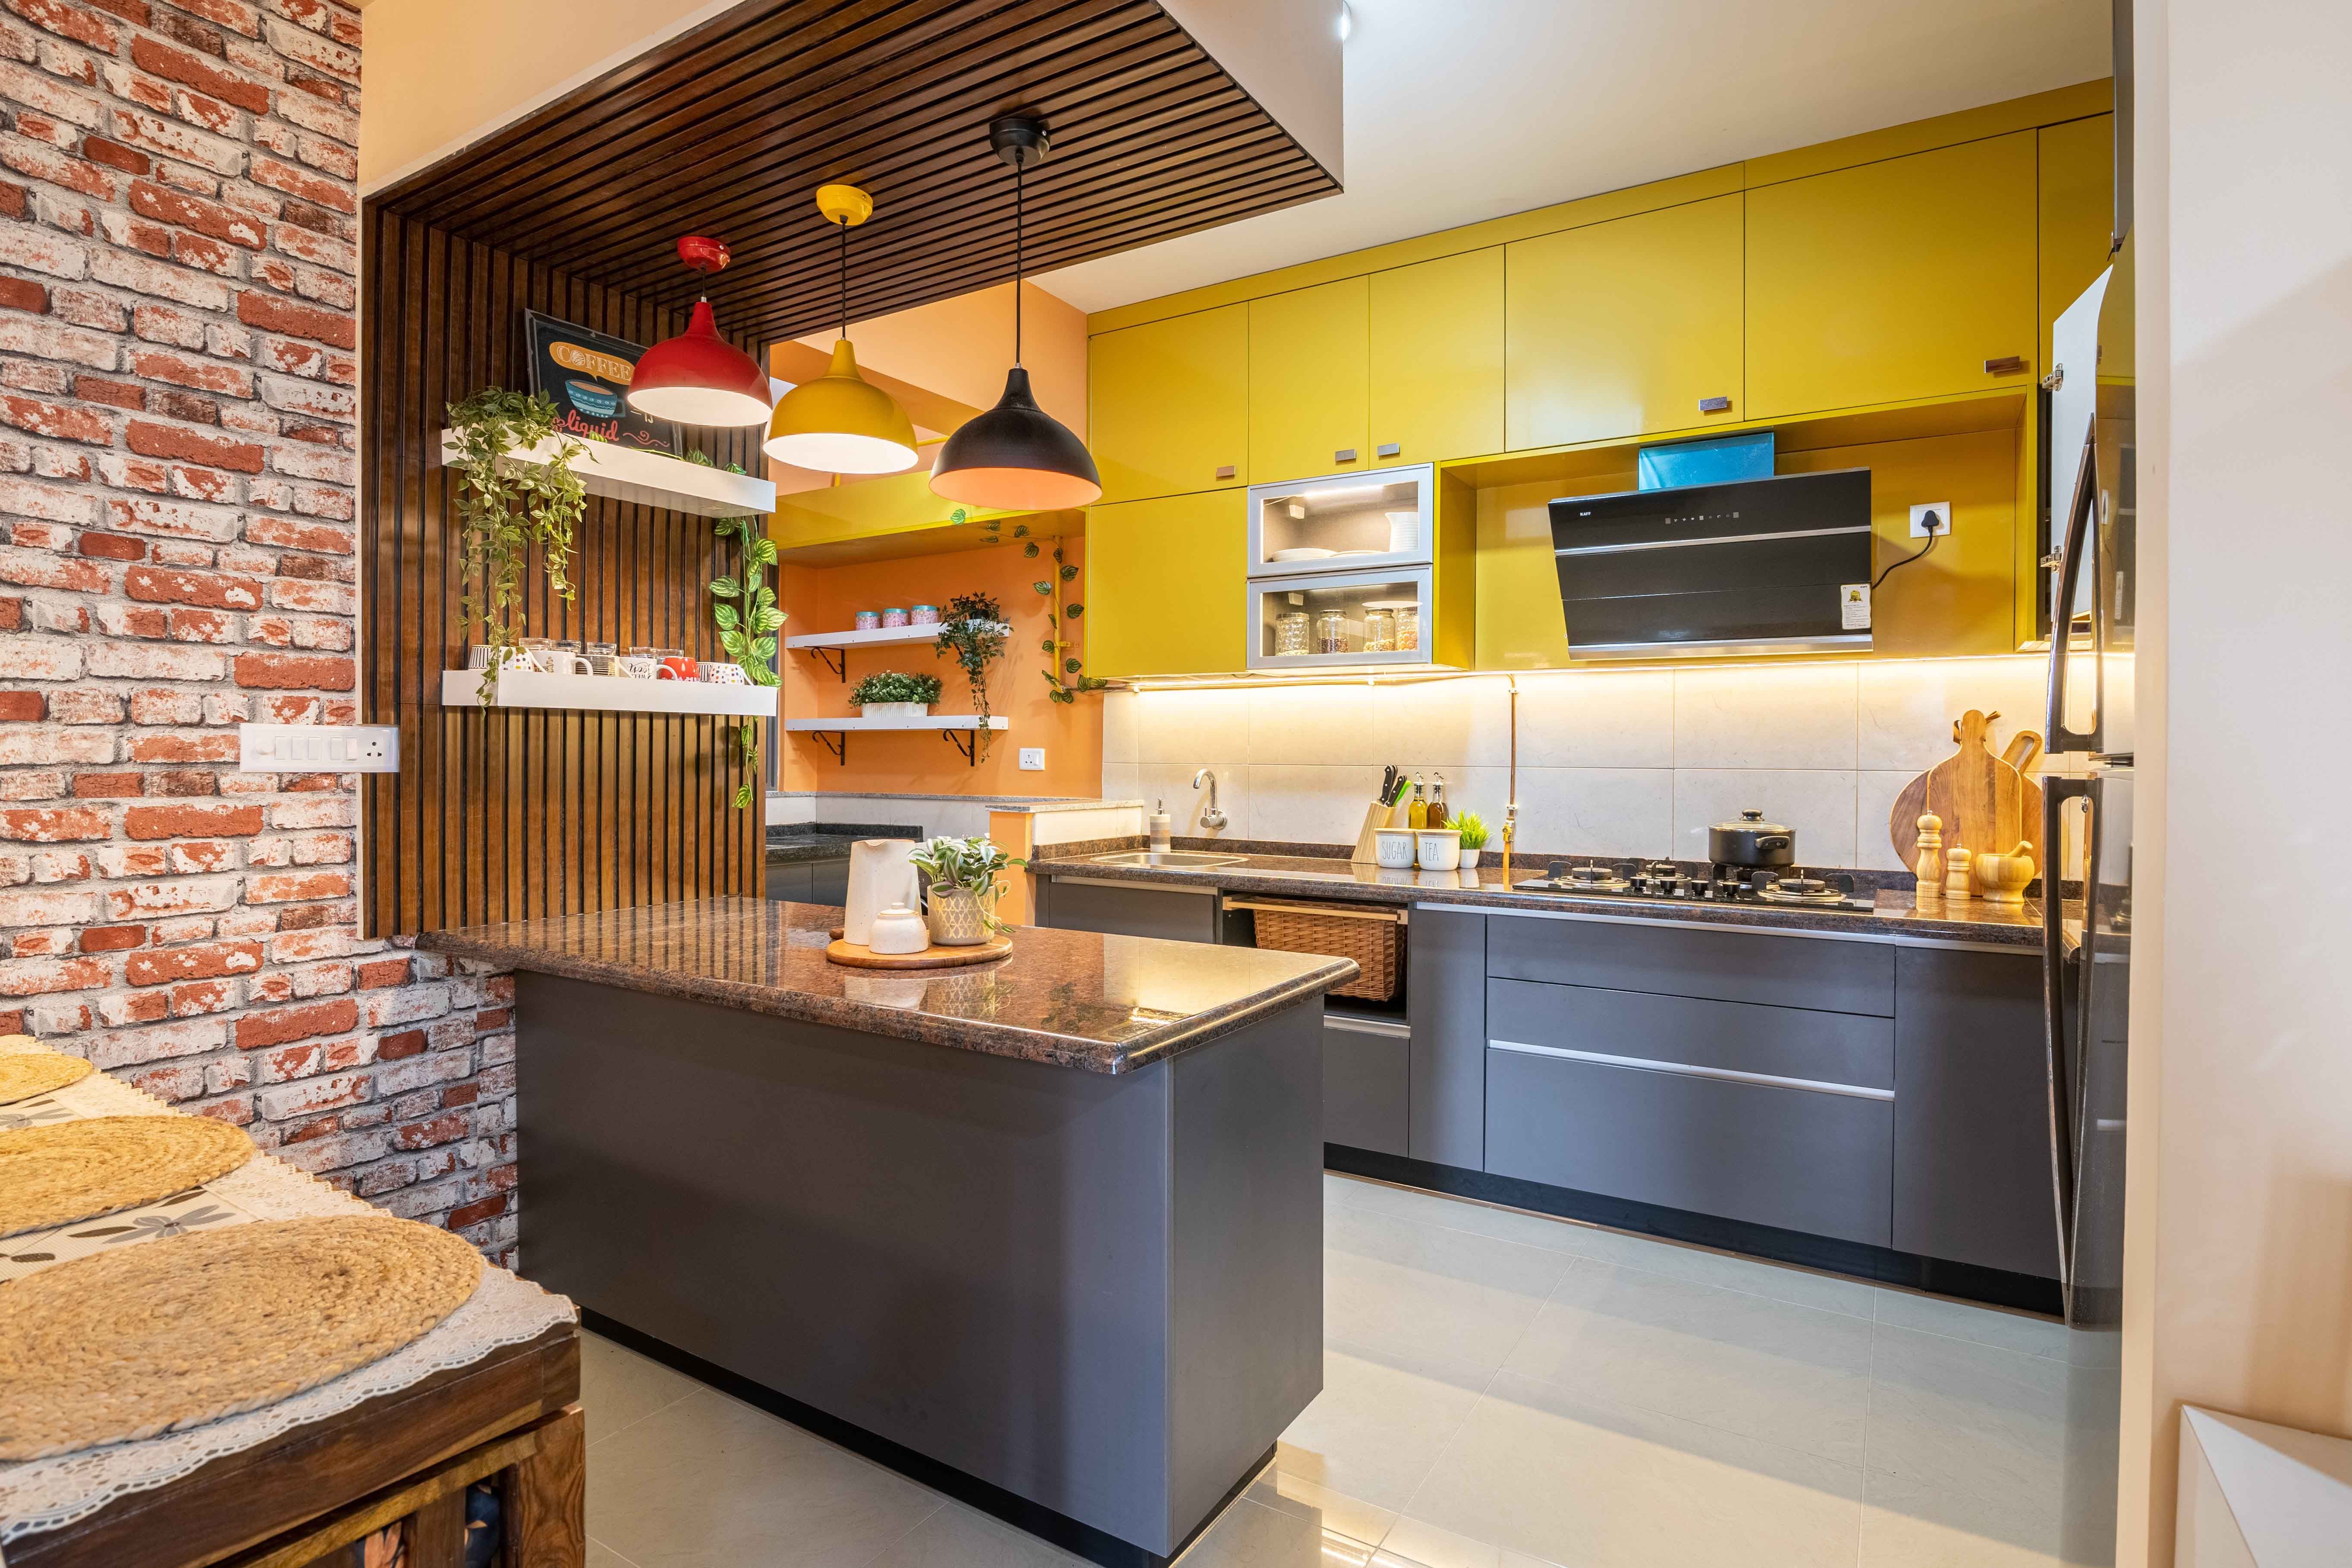
You can finish a kitchen cabinet declutter in five clear steps without emptying every shelf onto your counter at once. Work zone by zone for forty minutes, keep what you actually use each week, and wipe down the empty wood before putting anything back. Your kitchen stays functional the entire time, even if you need to stop halfway through.
How do I declutter my kitchen cabinets without the mess?
The biggest mistake is pulling every pot, plate, and spice jar out all at once. When life interrupts, your counters stay buried for three days. Instead, use the single-shelf boundary. Open one door, clear just that single level, finish it completely, and close the door before moving to the next.
Pick one station to start. The area around the stove or the cupboard directly above the coffee maker gives you the fastest daily payoff. When you follow principles of professional organizing, you group items by task rather than size, which makes every meal easier to prepare.

Step 1: Empty one shelf and sort into three piles
Bring three open cardboard boxes or laundry baskets into the room. Label them quickly in your mind: donate, relocate, and trash. Take every item off your chosen shelf and place it straight into one of those three categories or back onto the counter as a definite keeper.
- Donate: Duplicate peelers, extra mugs you never reach for, and promotional water bottles.
- Relocate: Items that belong in the bathroom, garage, or laundry closet.
- Trash or recycle: Expired spices, chipped glassware, warped plastic tubs, and stray lids without matching bottoms.
- Keep: The daily dinner plates, reliable knives, and pans you used this past week.
Step 2: Wipe the bare wood and check your shelf liners
Never return clean dishes to dusty corners. Once the shelf is bare, take five minutes to practice routine cleaning with a damp microfiber cloth and warm soapy water. Crumbs, dried oil droplets, and ring marks gather quickly inside dark cupboards.
Dry the surface with a tea towel right away so moisture does not soften the wood or chip the paint. If you have shelf liners, lift them up to shake out trapped debris. If a liner is sticky or torn, throw it away. Plain wood is much easier to wipe clean on a regular schedule than curled plastic mats.
Step 3: Put your daily items on prime real estate shelves
Most cupboards get messy because heavy daily items sit behind things used twice a year. Prime real estate is the space between your shoulders and your hips. Only put things you touch every single day in this middle zone.
- Eye level: Daily drinking glasses, coffee mugs, small bowls, and everyday dinner plates.
- Waist level: Heavy skillets, cutting boards, and your primary mixing bowl.
- High shelves: Holiday platters, punch bowls, extra cloth napkins, and special baking tins.
- Low bottom shelves: Heavy stock pots, appliances used once a month, and baking sheets stored vertically.
Step 4: Contain small clutter with sturdy bins
Loose packets and baking tools make deep cupboards look untidy within two days. Group loose goods into small, open plastic bins or shallow wooden boxes without lids. If you have to take off a lid to put a spice away, it will end up sitting on the counter instead.
Use clear turnstiles for oils and vinegars so you never have to reach behind three bottles to find soy sauce. Stack fry pans inside a simple wire rack rather than on top of one another. When pulling out a single pan takes three seconds instead of two hands, the entire kitchen stays clean for weeks.
Step 5: Move out the donation box immediately
A kitchen cabinet declutter is only finished when the discarded items leave your living space. As soon as your timer rings or the cupboard doors shut, take the trash bag to the outdoor bin. Do not leave it by the back door.
Carry the donation box directly to the boot of your car right now. If it sits on the floor near the kitchen island, family members will pull items back out. Drive it to your local drop-off center on your next grocery run. Your cupboards are now lighter, simpler, and ready for real cooking tonight.
Comments
Post a Comment